How Does Mold Remediation Work?
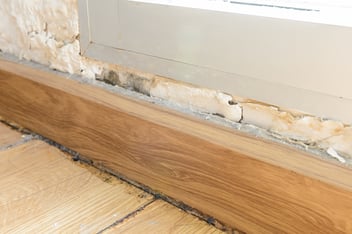
Picture this: you walk into your basement, and there it is, lurking in the corners, spreading silently but destructively. Mold. It's a sight that strikes fear into the hearts of homeowners everywhere. Mold is not just an unsightly nuisance; it's a silent menace that can wreak havoc on your property and threaten your family's well-being. Fortunately, there's a solution – mold remediation. In this comprehensive blog, we will unravel the mysteries of mold remediation, taking you through each crucial step. When it comes to dealing with mold, knowledge is your best defense. So, let's dive in and discover how professionals can help you reclaim your home from this unwelcome intruder.
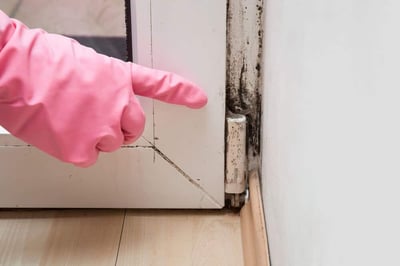 Step 1: Inspection and Assessment
The first and most critical step in mold remediation is to conduct a thorough inspection and assessment of the affected area. Trained professionals will identify the extent of the mold infestation, determine the type of mold present, and assess the underlying causes. This step is crucial because it helps create a tailored remediation plan.
Step 2: Containment
Once the assessment is complete, containment is necessary to prevent mold spores from spreading to other areas of the building. Professionals will seal off the contaminated area using plastic sheeting and negative air pressure machines. This containment prevents cross-contamination, ensuring that mold doesn't spread during the removal process.
Step 3: Mold Removal
The heart of mold remediation lies in the safe and effective removal of mold. This step involves several sub-steps:
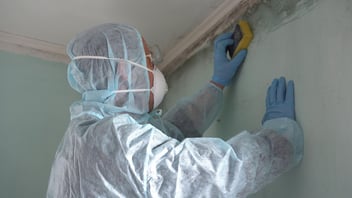
- Personal Protective Equipment (PPE): Professionals wear appropriate protective gear, including gloves, masks, and hazmat suits, to ensure their safety during mold removal.
- Air Filtration: High-efficiency particulate air (HEPA) filtration systems are used to capture mold spores and prevent them from circulating in the air.
- Mold Removal Techniques: Depending on the severity of the infestation and the affected materials, various techniques such as scrubbing, sanding, or even removal of contaminated materials may be employed.
- Disposal: Mold-infested materials are carefully bagged and disposed of following local regulations.
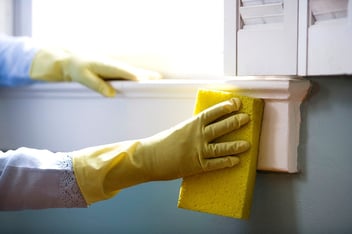
- Cleaning: The affected area is thoroughly cleaned and sanitized using specialized cleaning agents to prevent mold recurrence.
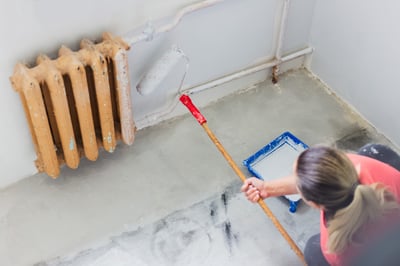 Step 4: Repair and Restoration
After mold removal, it's essential to repair any structural damage and restore the affected area to its pre-mold condition. This can involve replacing drywall, insulation, or any other materials that were removed during the remediation process. It's crucial to address the underlying issues that led to mold growth, such as fixing leaks or improving ventilation, to prevent mold from returning.
Step 5: Preventive Measures
Mold remediation doesn't end with removal and restoration; it extends to preventive measures to ensure that mold does not return. This includes addressing humidity issues, improving ventilation, and installing dehumidifiers, if necessary. Professionals may also recommend routine inspections to catch any potential mold problems early.
Step 6: Post-Remediation Verification
To ensure the effectiveness of the remediation process, a post-remediation verification is performed. This involves re-inspecting the treated area to ensure that all mold has been successfully removed and that the indoor air quality has improved. This step provides peace of mind that your home or building is now safe from mold contamination.
Why Choose Professional Mold Remediation?
Mold remediation is a complex process that requires a systematic approach to ensure that mold is safely and effectively removed from your home or building. Hiring professionals like Hina Environmental Solutions is the best way to protect your property and your health. Don't wait until mold becomes a bigger problem; take action today and schedule a mold inspection with us to ensure a mold-free and healthy environment for you and your loved ones. Your safety and peace of mind are our top priorities.
